Understanding the Connections of a Reverse Osmosis System
0%

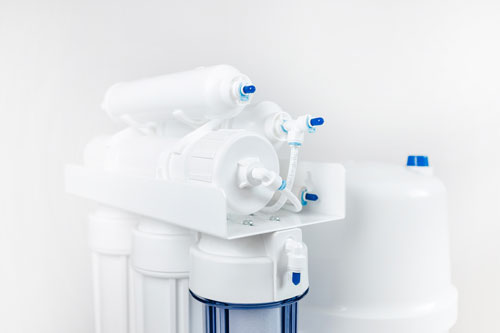
A reverse osmosis (RO) system is a popular and effective method for purifying water. It utilizes a series of connections that work together to produce clean and great-tasting water. Understanding these connections is essential for maintaining and optimizing the performance of your RO system. In this article, we will explore the typical connections found in a reverse osmosis system, highlighting their functions and importance in ensuring high-quality water.
-
Water Input Connection: The first crucial connection in a reverse osmosis system is the water input. This connection is responsible for supplying water from the source to the system. It is usually connected to the main water supply line in your home or business. A shut-off valve is often included to control the flow of water and enable maintenance or repairs when needed.
-
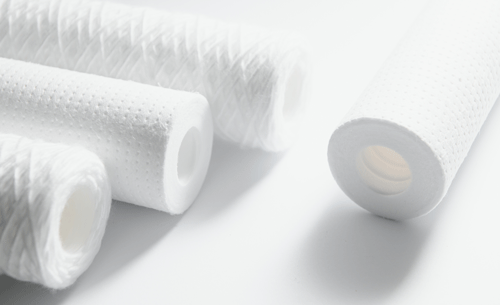
Pre-Filtration Connection: Before water enters the RO membrane, it goes through pre-filtration stages to remove larger particles, sediments, chlorine, and other impurities. The pre-filtration connection connects the pre-filter cartridges to the system. These cartridges typically include sediment filters, activated carbon filters, and other specialized filters, depending on the specific needs of your water source.
-
Reverse Osmosis Membrane Connection: The heart of the reverse osmosis system is the RO membrane. This semi-permeable membrane allows water molecules to pass through while blocking contaminants and impurities. The connection between the pre-filtration stage and the RO membrane ensures that water flows into the membrane for purification. This connection may also include a flow restrictor to maintain optimal pressure and maximize the efficiency of the membrane.
-
Drain Connection: During the reverse osmosis process, the membrane separates purified water from the concentrated wastewater or brine. The drain connection is responsible for directing the wastewater out of the system and into the drain. It is important to ensure a proper connection to prevent any leakage and maintain a hygienic and efficient RO system.
The next two points may not be relevant to all RO systems, some RO systems do not have a Storage Tank or Tap connection as standard, there are many reasons for this, if you are unsure please contact us for advice. -
Storage Tank Connection (optional): Once the water passes through the membrane, it enters a storage tank where it is stored until needed. The storage tank connection allows water to flow into the tank and includes a shut-off valve to control the flow. It is important to periodically clean and sanitize the storage tank to prevent the growth of bacteria or other contaminants.
-
Faucet Connection (optional): The final connection in a reverse osmosis system is the faucet connection. This connection delivers the purified water from the storage tank to the faucet or dispensing unit. It is typically installed near the sink or any other area where you need access to clean water. The faucet connection should be securely installed to prevent any leaks and ensure a constant supply of purified water.
Conclusion: Understanding the connections of a reverse osmosis system is vital for its proper functioning and maintenance. From the water input to the faucet connection, each connection plays a crucial role in providing clean and purified water. Regular inspection, maintenance, and cleaning of these connections will help ensure the longevity and efficiency of your RO system. By appreciating the significance of plumbing and water filtration, you can enjoy the benefits of safe and great-tasting water in your home or business.
Remember, a well-maintained and properly connected reverse osmosis system is the key to enjoying the many advantages of purified water.
Previous
The Crucial Role of Water Pressure and Temperature in Reverse Osmosis Systems
Next
Understanding the Role of a Pressure Tank in a Reverse Osmosis System
Related Posts

Related Products
- Feed Water Clamp£4.80
-
 QuickviewOut of stockWaste Clamp£3.60